Window tinting adds style, comfort, and practicality to cars, homes, and commercial spaces. Tints can reduce glare, keep interiors cooler, and provide an extra layer of privacy. Over time, however, even the best window tint films begin to show their age. They may bubble, peel, fade, or turn to an unappealing shade that no longer offers the protection or appearance they once did. When that happens, it’s important to know how to remove window tint properly.
Why Window Tint Needs to Be Removed
Window tint has a lifespan, and once it begins to fail, the only solution is removal and replacement. Here are a few common reasons why you might need to strip away old film:
- Ageing and deterioration: All tints eventually break down. Bubbling, peeling, or blistering are clear signs that the adhesive is no longer holding properly.
- Discolouration: Films often fade or develop a purplish hue after years of sun exposure. Aside from looking unattractive, this also means they have lost much of their UV-blocking ability.
- Legal compliance: Tint laws vary, and if the film is darker than what is permitted, it may need to be removed to avoid fines.
- Personal preference: Sometimes the film still works fine, but no longer suits the look you want.
- Safety concerns: Faded or bubbled tint can obstruct clear vision, which makes driving or day-to-day use unsafe.
Whatever the reason, removing old tint is not as simple as peeling off a sticker. The film is bonded with adhesive that can be stubborn, and careless removal can leave behind a sticky mess or worse, damage the glass itself.
Risks of Removing Old Tint Incorrectly
Although it may be tempting to pull at the corners and rip the film away, improper removal can cause more problems than it solves. Removing old window tint too aggressively can scratch the glass or damage the fine defroster lines on the rear car windows. If adhesive is left behind, it creates smudges and streaks that are both unsightly and dangerous if they interfere with visibility.
Another common mistake is thinking the job will be quick and easy. Even a single window can take a surprising amount of time, especially when the tint has been baked onto the glass for years.
Rushing through it usually ends with the film tearing into small scraps that take ages to remove. In frustration, some people turn to strong chemicals to speed things up, but those can easily damage the glass or nearby surfaces.
This just goes to show that tint removal is not as simple as it looks. It takes care, patience, and the right technique to get it done properly.
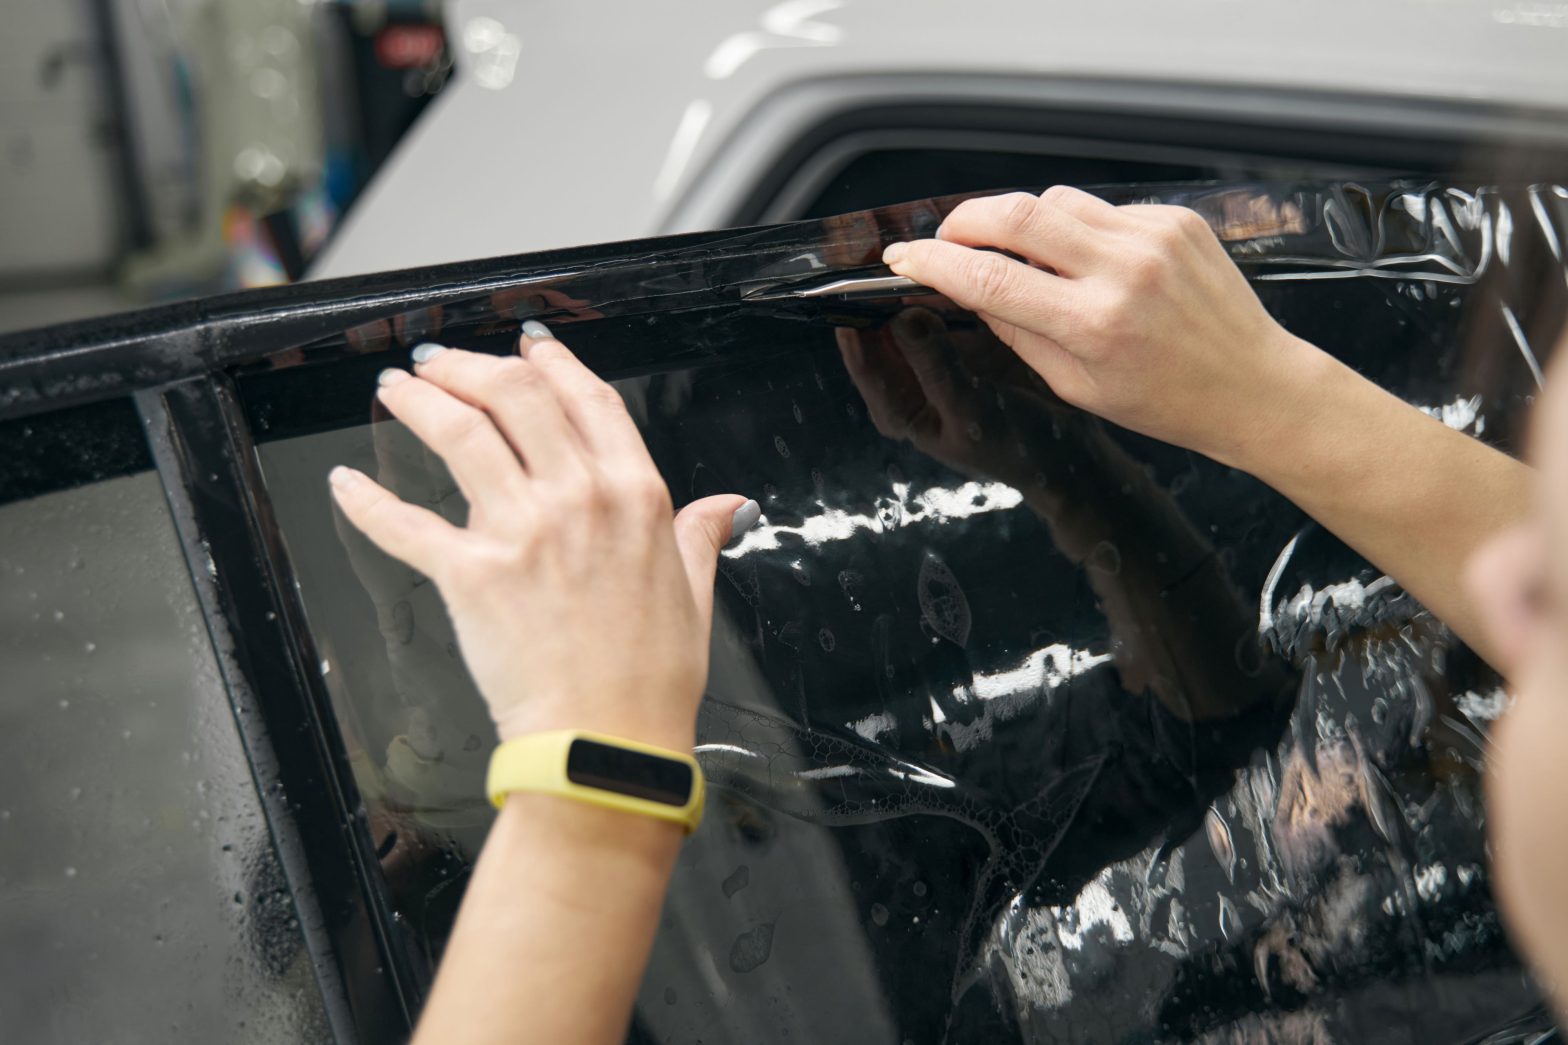
Methods for Removing Old Window Tint
Understanding how to remove window tint starts with knowing the main techniques used to loosen and lift old film. While the steps may vary, the goal is always the same: soften the adhesive so the film lifts away cleanly instead of tearing into pieces.
Steaming method
A household steamer for clothes or upholstery works well for softening the glue. Hold the steamer close to the glass, heat both sides if possible, and gently lift a corner with a plastic scraper. Continue applying steam as you slowly peel away the film.
Heat gun or hair dryer method
This approach is quick and accessible, but requires care to avoid overheating. Direct heat at a corner until the film softens, lift the edge, and peel gradually while continuing to apply warmth.
Soapy water or ammonia solution method
Spray a generous amount of the solution on the film and cover it with a plastic sheet to trap moisture, allowing it to soak. After some time, the adhesive loosens, making the tint easier to remove.
Adhesive tape or scraping method
Some stubborn tints respond to wide adhesive tape pressed firmly onto the window and then quickly peeled away. Scraping with a razor blade is another option, but extreme caution is needed to prevent scratches.
What matters most is not to rush. The slower and more careful you are, the more likely you will end up with intact sheets of film rather than hundreds of tiny shards.
Adhesive Removal and Post-Care
Once the film has been lifted away, you will usually be left with sticky adhesive clinging to the glass. This residue must be removed thoroughly before the window can be considered clear again.
Mild solutions, such as soapy water or vinegar-water, can be sprayed onto the glass and wiped away with a clean microfiber cloth. More stubborn spots may require adhesive removers or solvents like isopropyl alcohol. The best approach is to use even, steady pressure and avoid gouging at the glass. Around defroster lines or electronic components, plastic scrapers are a safer choice than metal blades.
After adhesive removal, the window should be cleaned thoroughly. Use a quality glass cleaner followed by a polish or protective sealant to restore clarity and help protect the surface. For car windows, avoid washing for at least a week to ensure everything has settled.
Safety Precautions
Tint removal often involves heat, chemicals, or sharp tools. That means safety should not be overlooked.
- Wear gloves to protect your hands from cuts or exposure to solvents.
- Protect your eyes from chemical splashes or flying debris by wearing safety goggles.
- Work in a well-ventilated workspace if you are using ammonia-based solutions or heat guns.
- Cover car interiors or electronic components with cloths or plastic sheeting to prevent damage from drips and spills.
Take the time to set up properly. This not only reduces the chance of injury but also increases the likelihood of a clean result.
When to Call in the Professionals
Knowing how to remove window tint is valuable, but so is knowing when the job is better left in expert hands. Removing tint might look straightforward, but there are plenty of details that can go wrong without the right tools or experience.
Some windows, especially those with built-in defroster lines or electronic elements, are delicate and easy to damage if handled incorrectly. The same goes for high-end cars or large residential windows, where a small mistake can quickly become an expensive one.
Home and car window tinting professionals deal with these challenges every day. They know how to get window tint off without scratching glass, protect surrounding trims, and leave a clean surface ready for new tint. Their process is quicker, safer, and far less messy than most DIY attempts.
Another advantage of hiring a professional is that they can replace the tint right after removing the old one. Proper installation makes a huge difference in how long the new film lasts and how well it performs. It helps prevent issues like bubbling, peeling, or fading—problems that often start with poor preparation or uneven removal.
DIY methods can work with enough time and care, but they come with risks that may lead to damaged glass or unfinished results. If the job seems too large, too delicate, or simply not worth the risk, letting a professional handle it is the smarter move. It saves time and leaves your windows clear, smooth, and ready for a fresh finish.
Peel Good About It
Old window tint not only affects how your car or home looks but can also reduce visibility and make the glass harder to clean or maintain. Whether the film has bubbled, faded, or started peeling at the edges, knowing how to remove window tint properly ensures the glass is cleared without damage.
If the process feels too tedious or if you would rather leave it to someone who does it every day, our team can take care of the removal and replace it with fresh car or home window tinting. You will not only see the difference but also feel good knowing your windows are in good hands.